Creating Users
Building on the policies created in the previous section, we will now create three users:
- A read user, inheriting the read policy applicable only to your source bucket
- A write user, inheriting the write policy applicable only to your destination bucket
- A supervisor user, inheriting a read/write policy to both source and destination buckets.
| User | Permissions | Role | Beneficiary |
|---|---|---|---|
| read_user | R on the source bucket | Fetch the weights matrix and bias vector for processing | TitanQ solver |
| write_user | W on the destination bucket | Write the results vector and logs & metrics file | TitanQ solver |
| supervisor_user | R/W on the source bucketR/W on the destination bucket | Upload the weights matrix and bias vector to the input bucket before submitting a solve request Retrieve the results vector and logs & metrics files after completion | Customer |
Creating the read user
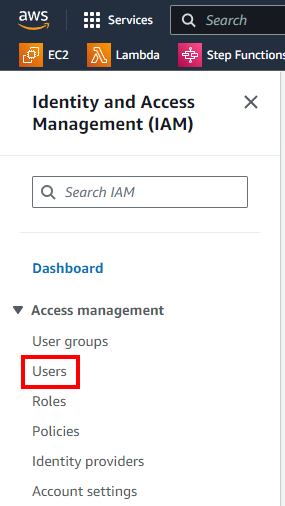
Back at the IAM dashboard, select the Users submenu:
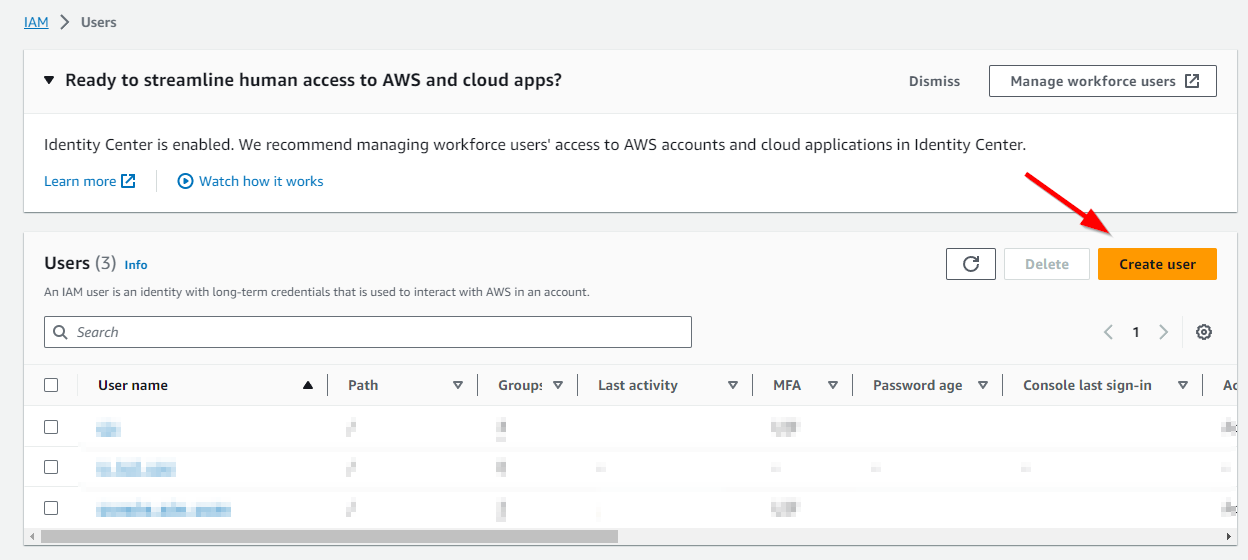
Select Create User:
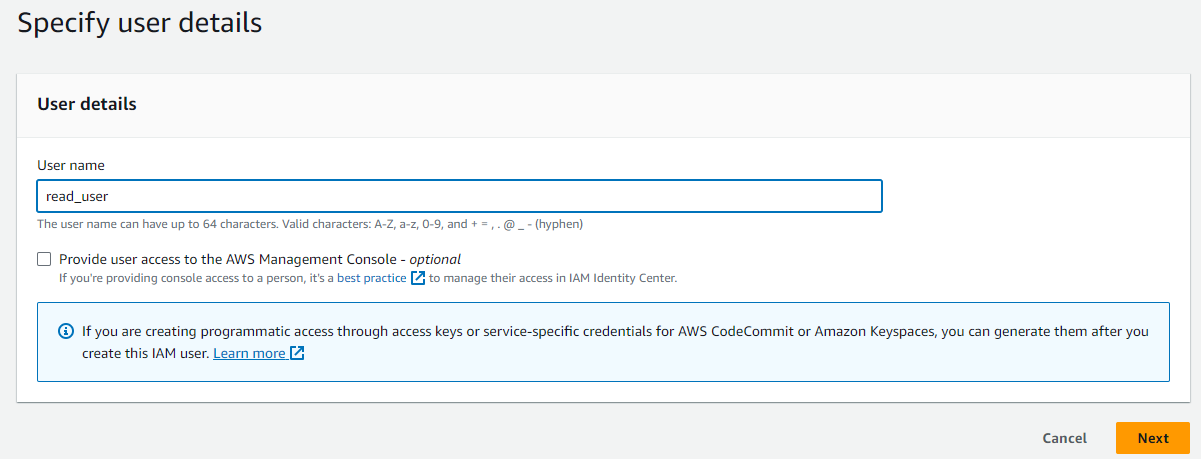
Pick a name for the read user then click Next.
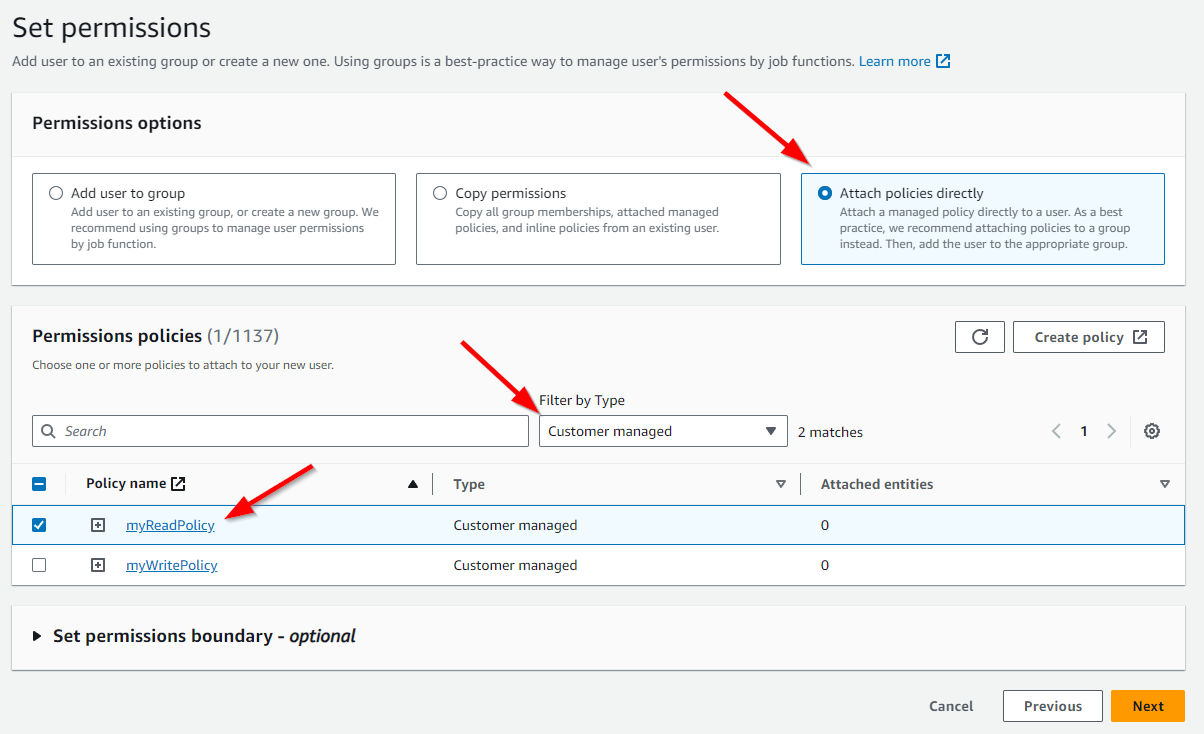
Select Attach policies directly.
tip
You may want to Filter by Type: "Customer Managed" to help locate the policies we previously created.
Select the previously-created read policy only.
Click Next.
On the following page, you can finally click Create User.
Creating the remaining users
Repeat the same steps for the write user, this time attaching only your newly-created write policy attached to the destination bucket.
Repeat the same steps once again for the supervisor user, attaching both
- the write policy to the source bucket
- the read policy to the destination bucket